
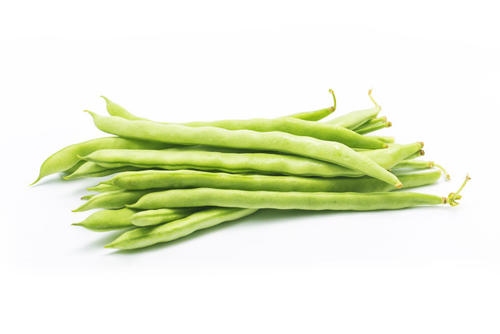
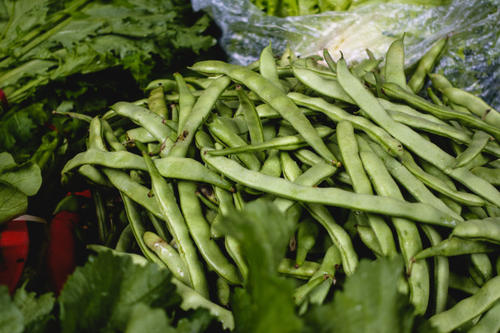
Bush Beans
Very popular to grow due to it’s fast growing ability as well as it’s success rate, is the green bush bean. This is a popular one to grow with children as the results can be seen just days apart, and it’s very easy to grow. Round the kids up in the last week of the Summer holidays and teach them how easy it is to grow your own vegetables!
What you’ll need:
Quality/Fresh Compost
Garden mulches (optional)
Green Bean Seeds
Trowel
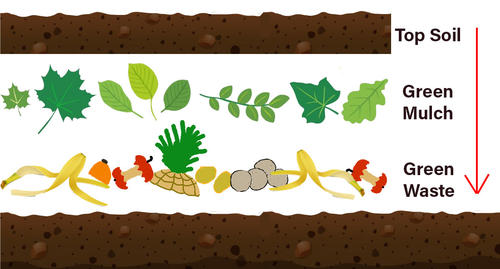
Get your bed ready
All beans like a warm, sunny spot in the garden with well drained soil mixed with well-rotted compost. Dig a hole around 1 foot deep to create a ‘compost trench’, fill this with kitchen green waste such as fruit and vegetable peelings, add some mulch or just leaves and grass from the garden, and top off with soil. Creating this nutrient-rich base will give the beans the best chances of growing successfully.

Sow your seeds
For bush beans, it’s best to plant the seeds in rows around 10-15 cm/ 4-6 inches apart with 45 cm (18 inches) left between each row. Using a trowel, drop in 2 seeds about 1 inch apart, to ensure the seeds are planted deeply into the soil, you want these around 5 cm/ 2 inches deep into the soil. Once they’ve been planted, cover with soil and water enough to reach the seeds.
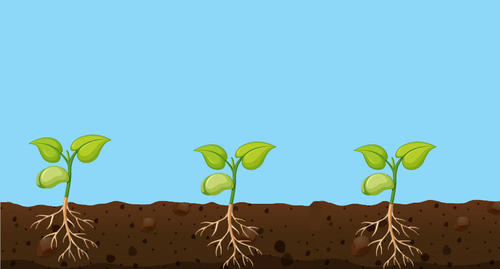
Give them some space
These should start to germinate in just 1-2 weeks. Once you’ve noticed these starting to sprout, thin the seedlings around 4-6 inches apart from eachother, to allow more space to grow. Due to their nature, bush beans shouldn’t need a trellis to help them grow, but you can add this as an option later on.
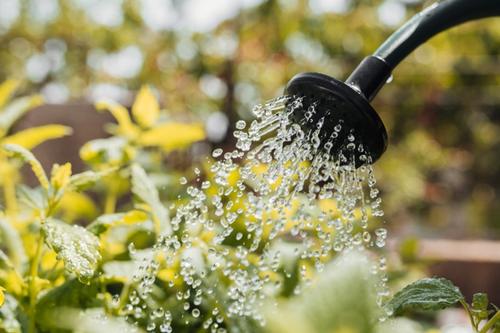
Water away!
After you’ve noticed small buds growing, try and water these with at least 2-3 inches of water once a week. As an option, you can add more fertiliser or compost once the beans have sprouted, although there should be enough nutrients in the soil from the compost trench.
Pick and enjoy!
As soon as you see a bean that is ready to eat, gently pick it, along with any others. Picking these as soon as they are ready to eat will encourage continuous growth of even more beans. These beans can also be frozen if you’re finding you’ve grown more than you can eat, by boiling them for 2 minutes and then blanching them in freezing cold water until they naturally cool down, and then place them in freezer bags.