How to Build Raised Sleeper Beds
How to Build Raised Sleeper Beds
Wooden Sleeper Beds are one of the easiest (and most satisfying!) ways to level up your garden. Whether you're a green-fingered pro or just starting out, these raised beds give you the perfect space to grow herbs, flowers, veggies—or all three! Plus, they make a great garden border or focal point your friends and family will definitely admire.
While we usually recommend bringing in the pros for bigger landscaping projects, if you're itching to get creative this summer, sleeper beds are a brilliant DIY garden upgrade. They’re super versatile, fun to build, and open up loads of exciting garden design ideas.
Need a little help getting started? Don’t worry—we’ve put together a guide to help you plan, build, and plant your way to garden greatness!
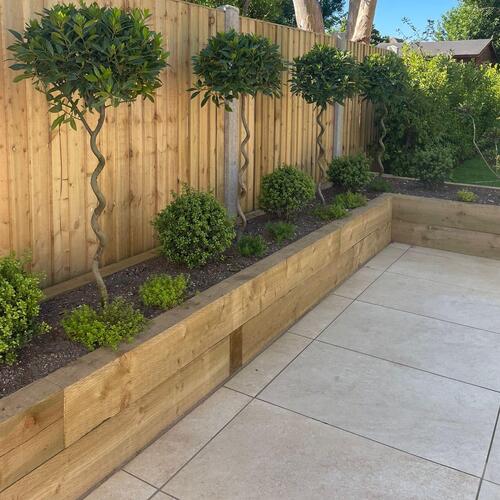
Materials needed:
Railway Sleepers (we sell Pine or Oak)
Timber screws (150mm and 250mm)
L shaped brackets
Safety equipment
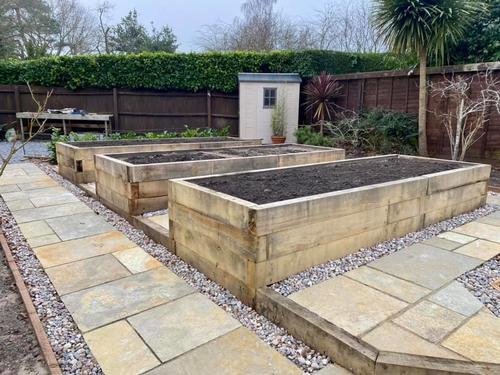
Should I use Pine Sleepers or Oak Sleepers?
At the Stone Zone, we sell three types of Sleepers which are all sustainably-sourced from FSC Certified forests. These include: Pine Sleepers and two ranges of Oak Sleepers. To help you decide on what's right for your project, read our comparison guide below:
Pine Sleepers
✅ Cheapest option
✅ Treated for protection against fungi and insects
✅ A-grade and are 100% PEFC certified
✅ Soft, 'green' colour that fades to silver
✅ Lasts up to 10 years
✅ Measures: 2.4m x 195mm x 100mm
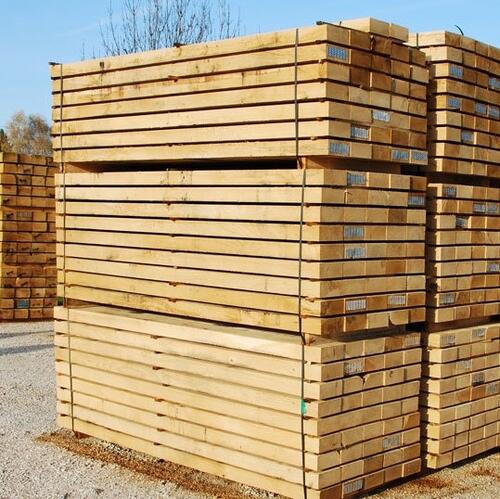
Landscape-Grade Oak Sleepers
Landscape-Grade Oak Sleepers - Our recommendation
✅ Great value
✅ A-grade and are 100% PEFC certified
✅ Warm Oak colour that fades to silver (if untreated)
✅ Untreated; will naturally last up to 20 years
✅ Guaranteed to have 2 'good' sides
✅ Measures: 2.4m x 200mm x 100mm
Prime French Oak Sleepers
✅ Premium, commercial-grade quality
✅ A-grade and are 100% PEFC certified
✅ Warm Oak colour that fades to silver (if untreated)
✅ Untreated; will naturally last up to 20 years
✅ Guaranteed to have 4 'good' sides
✅ Measures: 2.4m x 200mm x 100mm
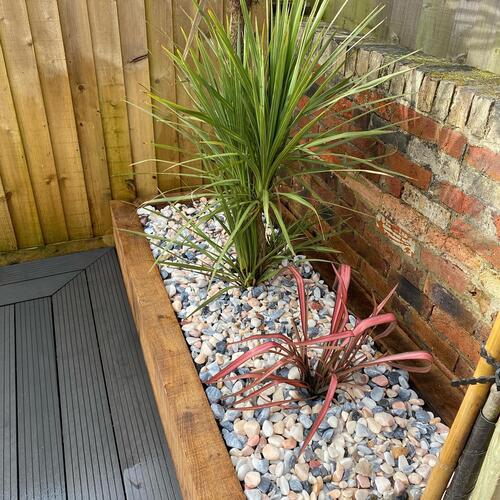
Method of building Sleeper beds
1. Decide on the placement
Once you've decided which Sleepers you're using, it is time to decide where you want your sleeper beds, and how big you'd like them to be. We recommend building the sleeper beds in an area that gets a lot of sunlight so that your plants have the best chances of growing. Consider over-hanging trees that might block sunlight and cause falling debris on your plant beds.
2. Cut your Sleepers down an dig a trench (optional)
Now you have decided where your sleeper bed(s) will be going and the size you'd like them to be, start cutting your Sleepers down to size either using a hand saw or circular saw, ensuring you are wearing suitable safety equipment.
Ensure the area is level with a Spirit Level and remove any debris such as large stones and weeds. If you're planning on building taller Sleeper beds, dig a 10cm trench to allow your first sleepers to 'sink' into the ground as a more sturdy base.
3. Position your Sleepers and Stain (optional)
Using heavy duty gloves, place down your first layer of Sleepers. As an option, you can sand these down to treat or stain them in a colour of your choice. Some people choose to do this if they want to slowdown the process of the wood turning silver.
Once you are happy that that base layer is stable, you are now able to add a second layer of sleepers to create a deeper bed. Keep in mind that you can stop at just one layer of sleeper beds, but it is a more popular garden design idea to have two layers. When adding this second layer, we suggest that you lay each sleeper individually and overlap them – similar to how bricks are laid. The best practice is to start at one corner and screw the sleepers together before adding the rest of the sleepers, the most efficient way to achieve the classic rectangular shape of raised sleeper beds. Start attaching the sleepers with timber screws, drilling from the top down for maximum security. Repeat this process until you are happy with the size.
4. Lay Weed Fabric and Hardcore Stones
Step four, although not technically necessary, is to lay Hardcore Aggregates such as Type 1 Limestone to the base of your sleeper bed, to add an extra element of drainage. This is good if you're planning a variety of planting.
We also strongly suggest that you lay down a layer of Weedcheck inside your raised bed to fashion a barrier between the moist soil and the wooden sleepers. At Stone Zone we offer Weedcheck in multiple sizes therefore you will be covered no matter how big or small your sleepers are. Our Weedcheck is available in 14m x 1m; 25m x 2m and 50m x 2m.
5. Complete your Sleeper beds
This is the best part; your sleeper beds are now ready to be filled! Depending on the size of your sleeper beds, you'll want a decent amount of good quality Soil for the best growing medium for your plants. We sell a range of best-selling Wessex Soils and Composts, including Wessex® Beds and Borders Soil for flowers and shrubs, and Wessex® Fruit & Veg Topsoil for... growing your own! Our standard 10mm Screened Soil would be great as your base soil, and we also sell Multi-Purpose Compost too!
As an option, add some stunning Decorative Stones to really make your raised bed the eye-catching feature of your garden!
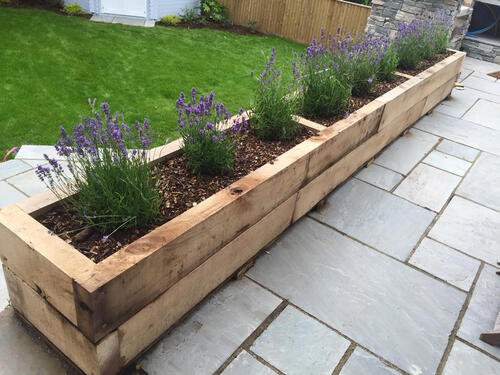
To protect your plants from the cold of Winter, or the heat of Summer, cover your soil in a layer of Woodland Mulch to retain moisture!

