
Creating your perfect driveway is vital. It is the first thing you see when entering your property and we understand that you want to make the perfect first impression.
Here at Stone Zone, we know that a perfect driveway needs to be both functional and aesthetically pleasing and that is why we have created this handy guide filled with tips and tricks to help you create the driveway of your dreams.
Please note, we always recommend hiring professionals for larger projects, but if you are a keen DIY-er follow along to create your dream driveway.
Equipment required:
- Excavator machine (optional)
- Wheelbarrow
- Compactor (wacker plate)
- Shovel
- Spade
- Sledgehammer
- Edging trowel
- Concrete mixer (optional)
- Spirit level
- Tape measure
- String line
- Wooden hand float / Darby
- Hose
- Groover
- Broom
- Power drill (optional)
Materials required:
Installation Guide:
Before starting anything, there are some important housekeeping that needs to be taken care of. The first step to this project is getting planning permission from your local authorities; no work can be done if we do not have the required approval. You also have to check if there are any essential utility lines and pipes underground that cannot be covered up.
For most driveways—particularly permeable surfaces like resin-bound or gravel—planning permission is usually not required. However, impermeable surfaces over 5 m² or driveways located in conservation areas may need approval.
The installation timeframe depends on the size of your driveway and the materials used. On average, most driveways take 3–7 days to complete. Our team will provide a detailed timeline during the planning stage to keep your project on track.
Preparation
Start by drawing an outline plan of your new driveway, taking into account the total length and width. As a general guide, allow 18–20 feet (5.5–6.1m) in length for a car, and 22–24 feet (6.7–7.3m) for larger vehicles such as trucks or vans. For the width, plan for 10–12 feet (3.0–3.7m) per vehicle.
Once you’ve finalised your layout, mark out the driveway area on-site using a string line and wooden stakes to define the boundaries clearly.
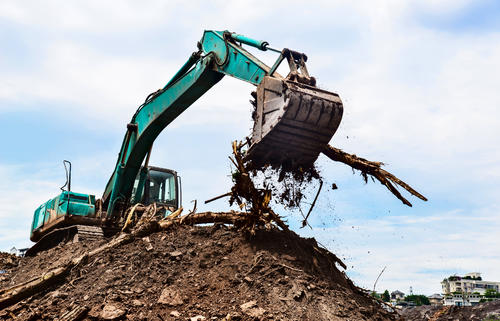
Step 1: Excavate the Existing Base
When planning to build a driveway, preparation is key. This stage is often the most labour-intensive, as it usually involves a fair amount of digging. Begin by removing the existing surface material to expose a firm, stable base—avoid leaving any topsoil, as it won’t provide proper support. as a guide excavate around 250mm down from ground level.
Take extra care while digging to avoid damaging any underground services such as gas, electricity, water, phone lines, drainage, or sewer pipes.
For larger driveways, consider hiring a digger or bulldozer to make the groundwork faster and more efficient.
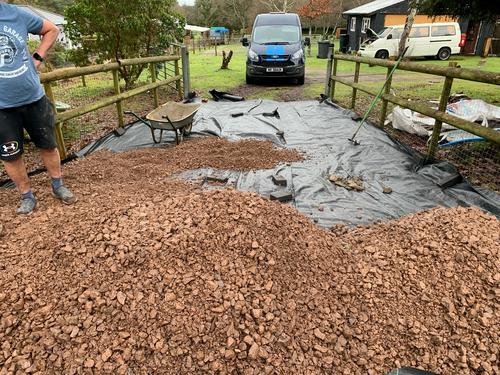
Step 2: Create a Sub-base
Your driveway should be made up of two key players: the sub-base, weed membrane.
The sub-base is the most important part, as it must be strong enough to support heavy loads. It also helps level out uneven ground, creating a solid and stable foundation for the layers above.
We recommend using a sub-base material made up of mixed aggregate sizes that compact well, such as MOT Type 1.
Make sure you order the right amount of sub-base material—aim for a minimum depth of 50mm. As a guide, one bulk bag of MOT Type 1 will typically cover around 10m² at this depth.
Use a wacker plate or roller to compact the sub-base thoroughly, ensuring a firm, even surface. Ideally, the base should slope slightly away from your house or garage to allow for proper water drainage.
While you can lay gravel directly onto firm soil, this isn’t recommended—it won’t provide a stable foundation for your driveway. If you decide to skip the sub-base, make sure to install a weed membrane beneath the gravel to help keep it clean and low-maintenance.
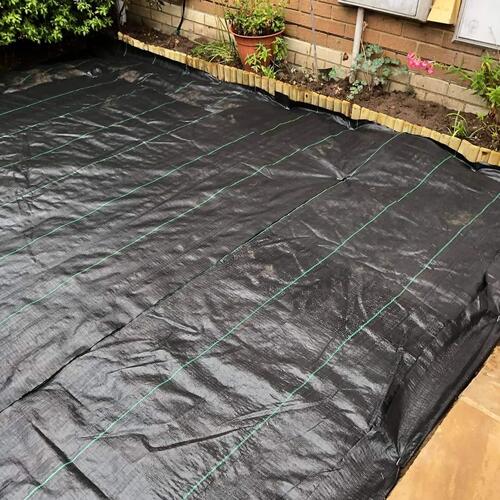
Step 3: Lay Weed Membrane
The weed membrane should be laid directly beneath the gravel and on top of the sub-base. Simply roll the membrane out to fully cover the prepared area and secure it in place with pegs or pins.
For driveways, we recommend using a heavy-duty polypropylene weed membrane, as it offers superior strength and durability—ideal for areas that will support vehicle traffic.
While it’s possible to skip the weed membrane, we strongly advise against it. Not only does it help prevent weeds from growing through your gravel, but it also keeps your driveway looking cleaner and well-maintained for longer.
Step 4: Choose and Lay Your Driveway Material
Once the foundation is set and the edge restraints are securely in place, the next key step is laying the driveway surface.
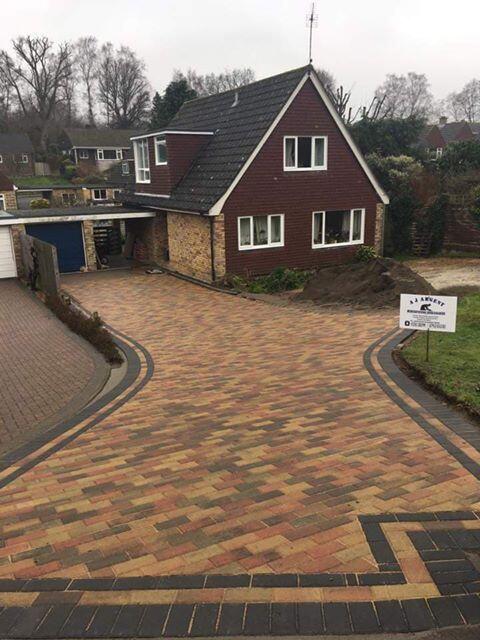
- Block Paving: A versatile and visually appealing choice. Individual blocks are laid in patterns such as herringbone or basket weave, then locked in place with kiln-dried sand for a durable finish.
- Resin-Bound Gravel: A stylish, low-maintenance option made from natural aggregates bound with resin. Permeable and eco-friendly, it’s ideal for properties seeking sustainable driveway solutions.
- Porcelain Paving: A sturdy and beautiful pick, especially if you want a modern look for your driveway.
- Tarmac: Perfect for larger driveways that require a simple, functional surface with minimal fuss.
- Proper attention at this stage ensures a strong, long-lasting, and professional-looking surface.

Step 5: Compact the Area
Once the driveway material has been laid, the next vital step is compaction and levelling to ensure a stable, even surface and lasting structural integrity.
For asphalt or gravel driveways, this process typically involves using a heavy roller to compact the material evenly, eliminating air pockets and loose areas for a firm, uniform finish.
For block paving, a plate compactor is used to gently but firmly bed the blocks into the underlying sand layer, keeping them well-aligned and secure. After compaction, jointing sand is swept over the surface to fill the gaps between pavers, locking them in place and enhancing interlock strength.
This stage is essential for achieving a durable, smooth, and long-lasting driveway that can withstand regular vehicle use.
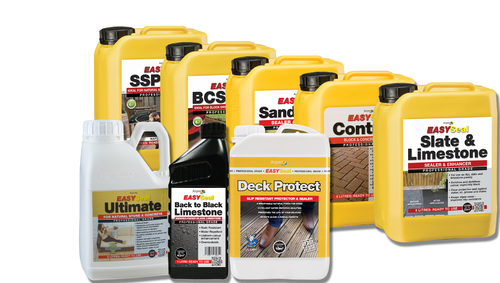
Step 6: Seal the Surface
After the driveway material has been laid and compacted, the next important step is sealing the surface. This is especially crucial for materials such as resin and concrete, which can be prone to weathering and surface wear over time.
Applying a high-quality sealant helps protect against oil stains, water ingress, and UV damage, effectively extending the lifespan of your driveway. It also enhances the natural colour and finish of the material, giving the surface a clean, polished, and professionally maintained look.
In addition to improving appearance, sealing adds a vital layer of durability—helping your driveway withstand the effects of weather and regular vehicle use. Choosing the right sealant and applying it correctly are key to ensuring lasting protection and a premium finish.
Step 7: Maintenance & Upkeeping
Different driveway materials require varying levels of maintenance. Gravel driveways need regular topping up and raking to keep them even, while block paving may require occasional cleaning and re-sanding of joints. Concrete and asphalt surfaces benefit from being resealed every few years to preserve both their appearance and durability.
By following these guidelines, you can ensure your driveway installation is successful, resulting in a functional, durable, and visually appealing addition to your property.