
A pond in the garden is a great addition that can be tailored exactly to your liking; surrounded by beautiful, decorative stones or left to naturally grow as it pleases. By adding a pond to your garden, you’re encouraging a wider variety of wildlife into your garden and could be helping endangered species.
Creating a pond can be as complex as you make it, equally, it can be very easily done and take just a couple f hours to create, with minimal equipment needed. This is a great activity to get the kids involved with, as it doesn’t take too much time or strength to complete. Once the pond has been left for a few weeks, it’s also a great way to teach little ones all about the animals that will find a home in this pond.
What you’ll need:
Large spade
Spirit Level
Bricks/ large stones
Scissors
Water (ideally rain water)
PVC/ Butyl pond liner
String/ rope
Tape measure
Step 1
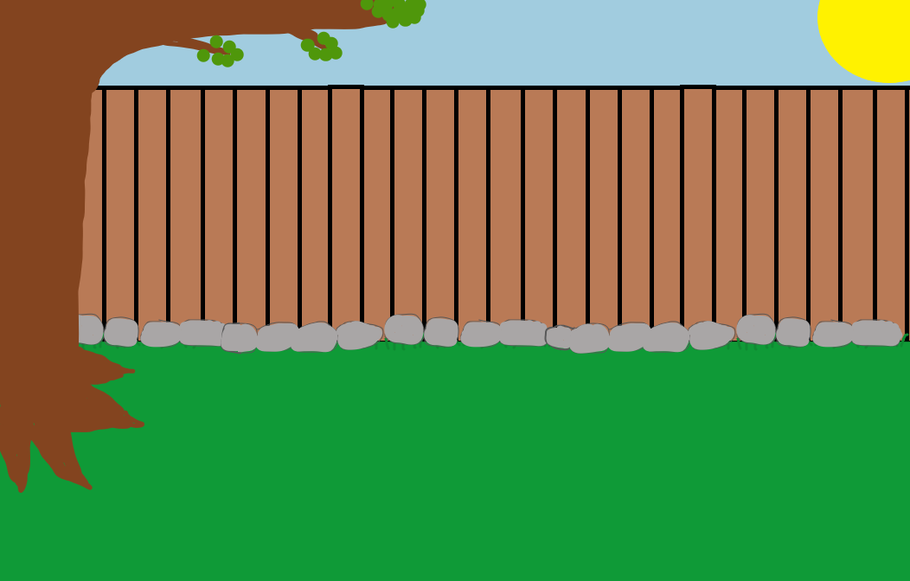
Find the best place for your pond
Choose a spacious spot in your garden that spends a lot of time under sun light. It’s also best to choose a spot where there are no over hanging trees to prevent it from filling with leaves. Some people like the idea of a raised pond so it is easier to see into, in this example we will be creating a pond at ground level.
Step 2
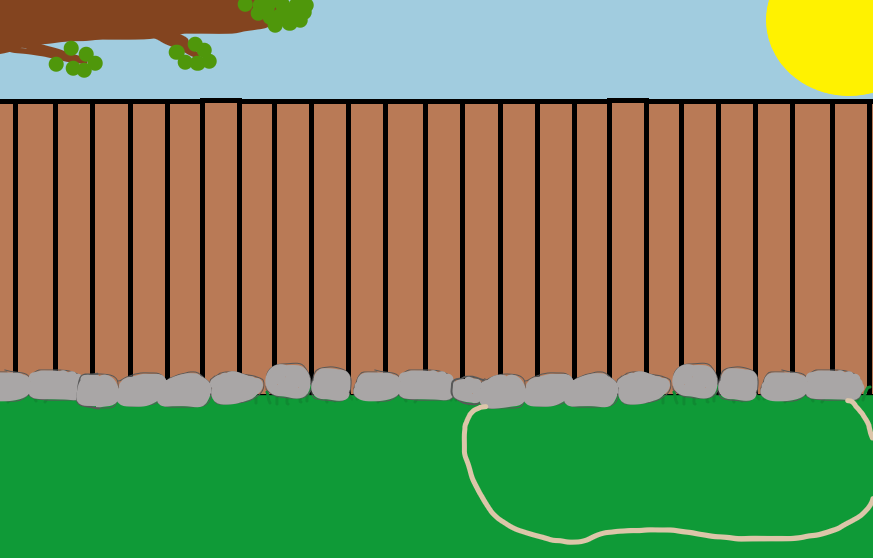
Mark out pond
Using a piece of rope or string, mark out where you’d like your pond to go. This can be any shape you like, but a good idea is to give it some rounded curves.
Step 3
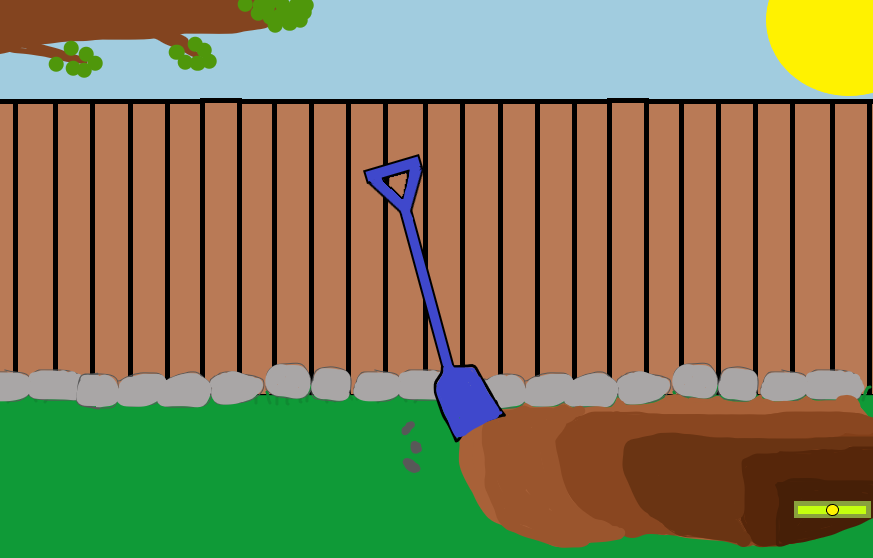
Dig away turf
Ensure all the turf has been dug up, using your piece of rope or string as a guide. Begin to dig out your hole by removing any soil or debris. It’s best to start at the centre and work your way out. Try not to dig out soil and then fill it back in again. While digging, make sure you leave some shallow edges to then create different levels within the pond to attract different types of wildlife. Once this is roughly dug out, use your spirit level to check that the hole you’ve dug out is level. This will ensure there are no deeper parts to your pond to prevent water running out from one side.
"The surface area of the pond should be at least 5 times the depth." - Charlie Says
Step 4
Raise the edges if necessary
You may need to create a bank to give your pond more depth or to level the area out. You can do this by using bricks or large stones to place around the outside and then dig soil back on top of them. Dig out any extra soil to create the final pond space and measure the depth of your hole, the deepest part should be at least 50cm deep.
Step 5
Add pond liners
As an option, you can add a soft underlay pond liner to prevent stones or debris puncturing the PVC pond liner, old carpet could also be used for this as well. Add a PVC or butyl pond liner, pressing down on corners and edges to ensure the liner is as close to the ground as possible. Slowly begin to fill with water, and tighten the liner as you go. Using bricks or large stones for this part can make this easier.

Step 6
Fill desired amount of water
Once you are happy that the pond liner has been placed as close to the ground as possible, with little gaps, continue to fill your pond with as much water as you’d like. Ideally you’d fill this completely to the top, in the example, the water will reach ground-level. If you have a water butt that has collected rain water, it’s best to use this water for your pond as tap water usually contains nitrate and chlorine. Once the pond has been filled, use scissors to trim off the excess liner.
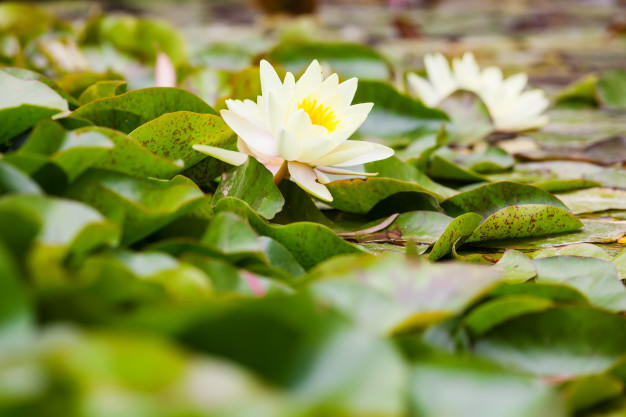
Step 7
Choose pond plants
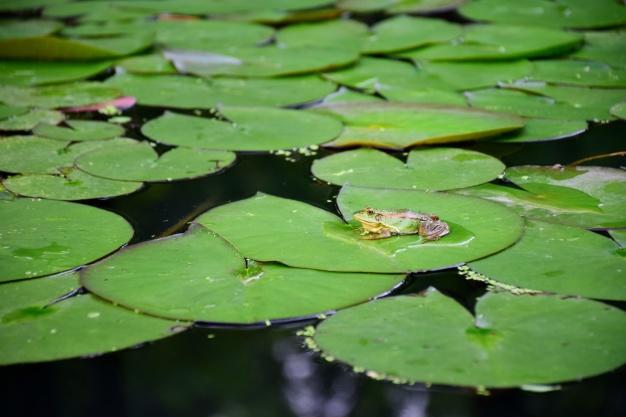
Most Garden centres will sell a variety of pond plants to make your pond look great but also to attract a range of creatures. Making sure the edges of your pond have soft plants/ vegetation around it means that frogs and newts can easily get in and out.
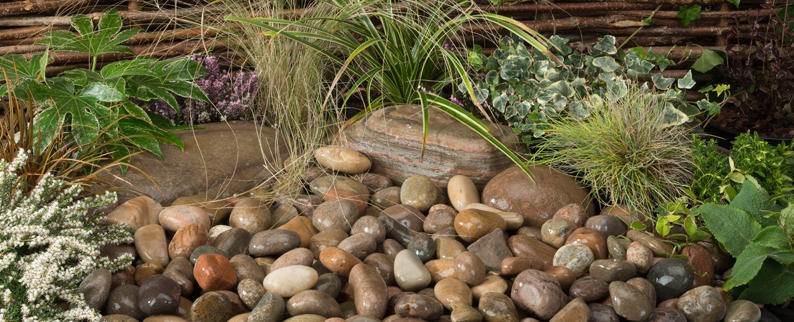
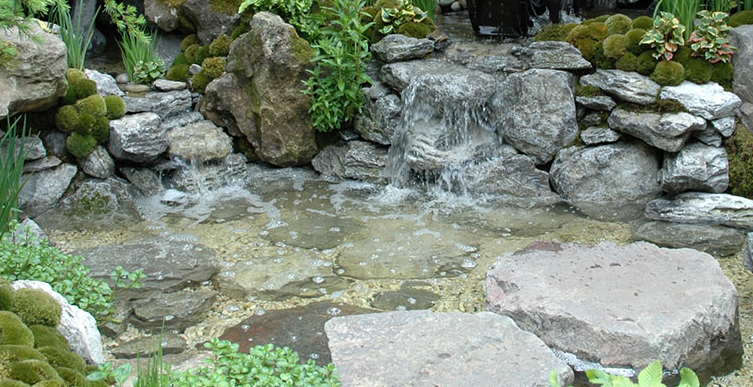
Tweed Pebbles
Step 8
Decorate as you please
We have a huge range of decorative stones that are fish friendly and look stunning in and around ponds. Our pebbles and rockery make great features next to ponds. Click here to see a video of a customer’s stream created using Scottish pebbles, golden gravel and Purbeck rockery.
Scottish Cobbles
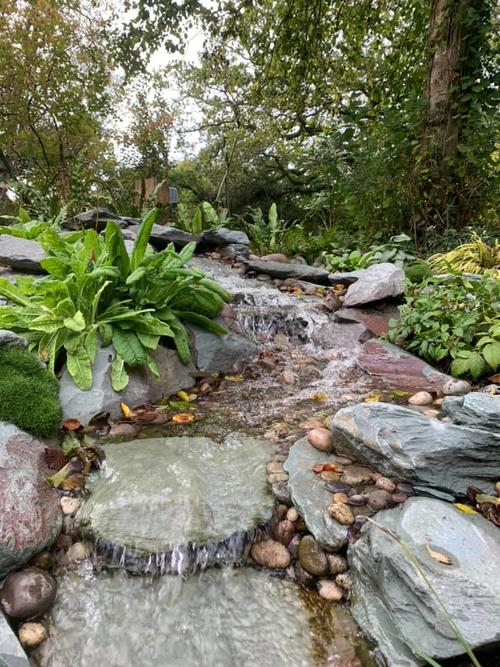
Step 9
Step back and observe
It takes just a few weeks for your new pond to become a haven for all kinds of creatures. Some visitors you’ll probably encounter are newts, frogs and dragonflies!