5 Spring-Flowering Bulbs to Plant
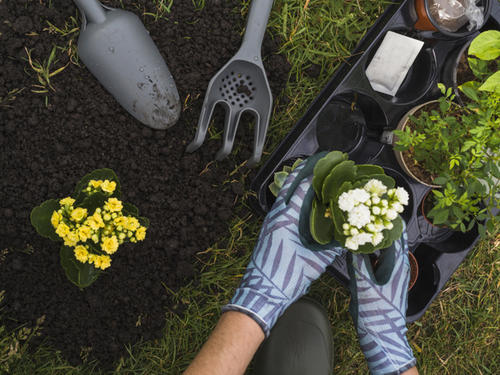
Feeling gloomy about the cold, wet months ahead? Step outside and turn that autumn chill into an opportunity! Now is the perfect time to plant bulbs that will reward you with a burst of colour when spring arrives. With just a little effort now, you can guarantee a garden that greets you with vibrant life after winter’s grey days.
These 5 spring-flowering bulbs are ideal for autumn planting and couldn’t be simpler to grow. Whether you’re looking to brighten borders, add charm to containers, or bring a splash of cheer to pathways, they’re a quick, affordable way to prepare your garden for the months ahead.
Take advantage of the remaining daylight and crisp autumn afternoons to add the final touches to your outdoor space; you’ll thank yourself when those first shoots appear, signalling the return of warmer, brighter days.
Tulips
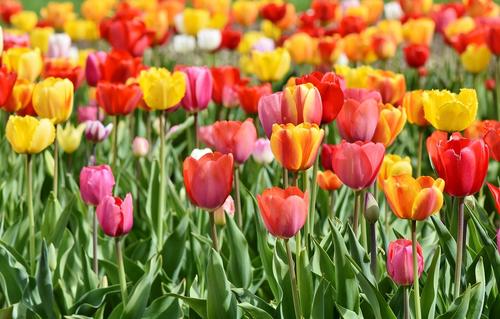
This vibrant flower is a real showstopper in any garden, making it a popular choice for bright, eye-catching borders. Its bold colours, most commonly pink, red, yellow, or white—bring instant cheer and can be mixed together for a striking, multicoloured display.
Known for their ability to grow quite large, these flowers create an impressive focal point and add height and structure to planting schemes. They thrive best in moist, nutrient-rich soil, making them perfect for slightly wetter areas of the garden where other plants might struggle.
Whether planted in clusters for a dramatic effect or dotted among other blooms for contrast, this flower guarantees a lively, colourful addition to your outdoor space while also attracting pollinators like bees and butterflies.
Early Bulbous Iris
These charming, dainty flowers are a smaller variety that truly shine when planted in clusters, creating a soft carpet of colour. Because of their low-growing habit, they’re best displayed in raised beds, window boxes, or large pots where their vibrant shades can be fully appreciated.
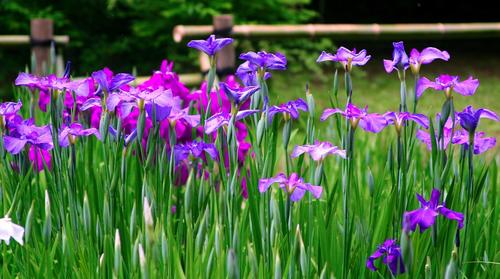
They come in two striking colour variations: one with delicate purple petals accented by bright yellow centres, and another in a rich royal blue with intricate white and yellow markings. Compact yet eye-catching, these blooms bring a burst of seasonal charm and work beautifully as accents alongside taller plants.
Daffodils
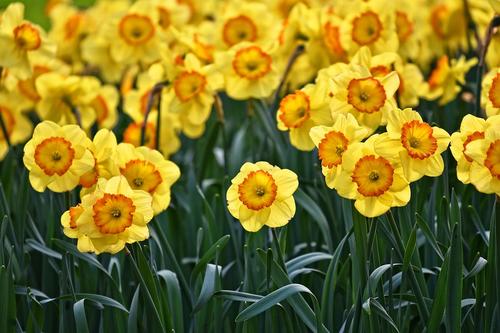
A true symbol of Spring, the daffodil is one of the season’s most iconic and uplifting flowers. While the classic, cheerful bright yellow variety is the most well-known, daffodils also come in a wide range of colours and patterns. You’ll find elegant white petals with striking orange centres, soft peach-toned varieties, and even delicate two-toned blooms that add depth and variety to your garden display.
Daffodils are wonderfully versatile and thrive in many different soil types, making them an easy choice for gardeners of all levels. They look stunning when planted in clusters along garden borders, dotted beneath trees, or nestled around shrubs to create natural pops of colour. As they return year after year, these hardy perennials not only bring a burst of Springtime joy but also provide long-lasting value for your garden design.
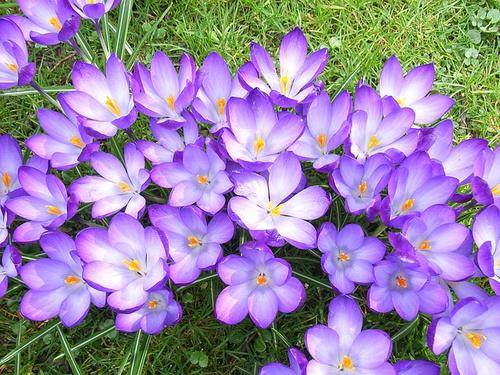
Crocus
Crocuses are a charming addition to any garden, bringing a welcome burst of colour just as winter starts to fade. Most commonly recognised for their vibrant purple petals, these flowers actually come in a range of shades including white, lilac, yellow, and even striped varieties—perfect for creating eye-catching displays. Unlike many other spring flowers, crocuses grow from corms rather than bulbs, giving them their own unique identity within the iris family.
These hardy little blooms thrive best in sunny, sheltered spots with well-drained, gritty soil. They’re ideal for planting in rockeries, borders, or even naturalised in grassy areas where they can create carpets of colour year after year. One of the best things about crocuses is their eagerness to bloom early—some varieties can appear as early as February, signalling the first signs of spring and offering much-needed cheer after the darker months.
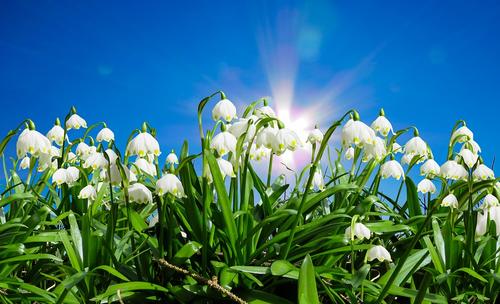
Snowdrops
Snowdrops are one of the first signs that brighter days are on the horizon, often appearing as early as December and continuing to bloom into the early spring. Their delicate, nodding white flowers are a welcome sight in the garden, bringing hope and beauty even during the coldest months of the year. Despite their dainty appearance, these little plants are surprisingly tough—thanks to their hardened tips, they can push through frozen ground and snow with ease.
Snowdrops are highly versatile and will happily grow in most soil types, provided the ground is moist but well-drained. They’re especially well-suited to shady or partially shaded areas, which makes them a perfect choice for planting beneath trees, along woodland borders, or under hedgerows where other flowers might struggle. Over time, snowdrops naturally multiply, forming carpets of white that create a stunning, naturalistic display.
Planting snowdrop bulbs “in the green” (just after they’ve finished flowering) is one of the easiest ways to establish them successfully. Once planted, they need very little care, making them a fantastic low-maintenance option for adding early colour and charm to your garden year after year.
Planting tips…
To give your flowers the best chance of thriving, it’s important to start with the right growing environment. A rich, well-prepared soil will make all the difference. We recommend using a high-quality soil such as our British Standard Topsoil, mixed with a little compost to boost nutrient content and encourage strong root development.
Begin by loosening the soil with a trowel, working in the compost until the ground feels crumbly and easy to plant into. When it comes to digging the hole for your bulb, a simple rule of thumb is to make it about two and a half times as deep as the bulb’s diameter. For example, if your bulb is 4cm wide, your hole should be around 10cm deep.
Before placing the bulb in the hole, sprinkle a layer of sand or horticultural grit at the base. This improves drainage and helps prevent the bulb from sitting in water, which can cause it to rot. Place the bulb into the hole using the “push and twist” method—this ensures good soil contact and helps anchor it in place.
Once planted, cover the bulb with the remaining soil and gently firm it down. For best results, mark the spot with a label so you’ll remember what you’ve planted and where. This way, you won’t accidentally dig it up later and you’ll know to keep an eye on it. Water the area lightly, and continue to give your bulbs a drink whenever the soil looks dry. With just a little care, you’ll be rewarded with beautiful blooms come spring.
We sell topsoil, compost and dressing for all landscaping applications. We can even make bespoke blends to match your specific requirements!

